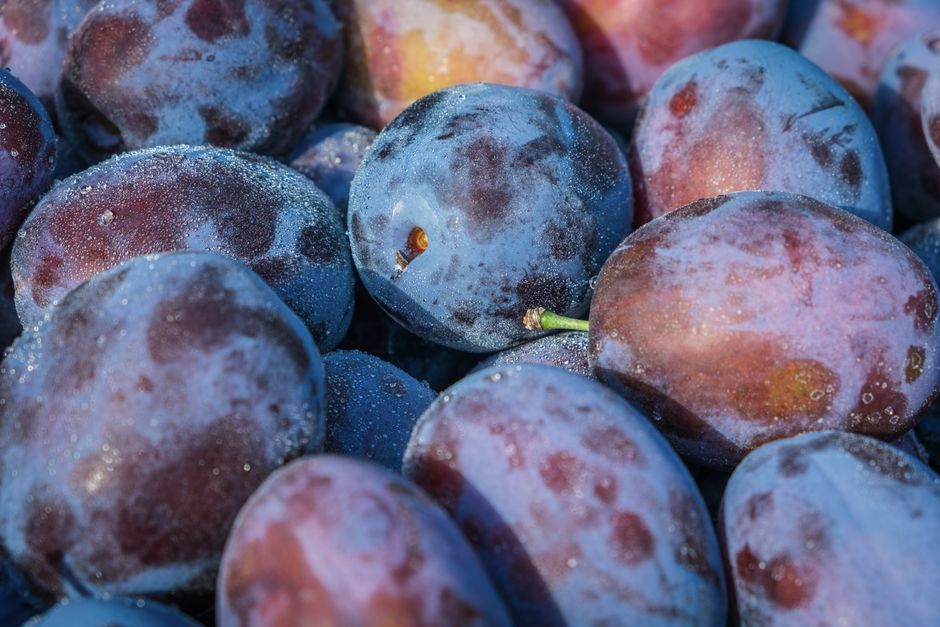
The best plum and blackberry crumble uses more fruit than sugar, a small amount of starch, and a topping that stays coarse instead of turning into paste. Late-summer plums bring honeyed acidity, while blackberries add sharpness and enough juice to test the structure of the dish. Bake the crumble in a 23 cm square dish, let it rest for at least 30 minutes, and you will get soft fruit under a crisp topping rather than purple soup.
What makes a plum and blackberry crumble crisp, not watery?
The fruit-to-thickener ratio that works
Start with 700g ripe plums and 300g blackberries. That 70:30 ratio gives the plums room to soften without letting the blackberries dominate the filling. Add 20g cornstarch, 15g lemon juice, and 90g granulated sugar. The cornstarch binds the juices released during baking, while lemon juice keeps the filling from tasting flat. Too much creates a sticky, cloudy sauce that hides the fruit.
| Ingredient | Amount | Purpose |
|---|---|---|
| Ripe plums | 700g, cut into 1.5cm wedges | Soft, sweet base with enough acidity |
| Blackberries | 300g, whole or halved | Sharp flavour and late-summer colour |
| Granulated sugar | 90g | Balances tart fruit without masking it |
| Cornstarch | 20g | Thickens the fruit juices |
| Lemon juice | 15g | Keeps the filling bright |
Why late-summer fruit needs a short rest
Fruit ripeness changes the result more than a small shift in oven temperature. Firm plums hold their shape and need thinner wedges. Very soft plums release liquid quickly, so toss them with the sugar and cornstarch only when the oven is nearly ready. Frozen blackberries need no thawing; thawed berries release water before the bake begins. Fresh blackberries should look plump but not crushed. If the berries have leaked heavily in their container, drain the loose juice before mixing.
The clear verdict: use the 70:30 plum-to-blackberry ratio and 20g cornstarch for a filling that tastes like fruit first and sets cleanly on the plate.
How should you prepare plums and blackberries before baking?
Cut the plums for even cooking
- Wash the plums and dry them well. Surface water becomes extra liquid in the baking dish.
- Cut each plum around the pit, twist the halves apart, and remove the stone. Slice the flesh into wedges about 1.5cm thick.
- Leave the skins on. They add colour, tartness, and a little natural pectin as the fruit cooks.
- Check the wedges for bruised or fermented spots. Remove those parts instead of adding them to the dish.
Keep the berries intact
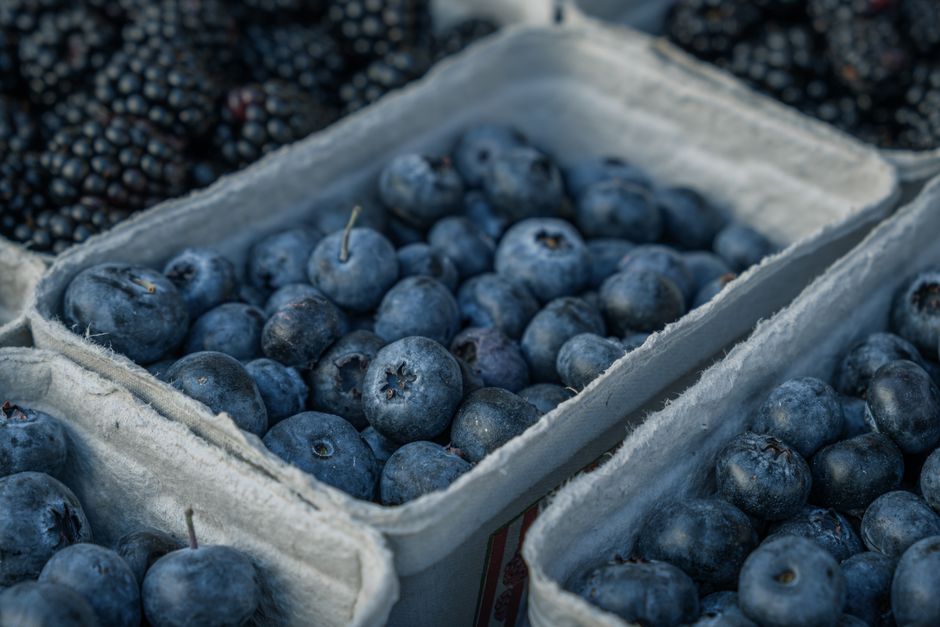
Blackberries need gentler handling than plums. Toss them with the other filling ingredients using a wide rubber spatula or your hands. Stirring hard breaks the berries and releases their juice before the topping goes on. Halve only very large berries. Small berries can stay whole, which gives the finished crumble little pockets of tart flavour.
Mix the fruit in a bowl rather than directly in the baking dish. That lets you coat every plum wedge with cornstarch and sugar. Scrape all of the mixture into a buttered 23 cm square or 2-quart baking dish, then spread the fruit into one even layer. A deep casserole dish is a poor choice here. It traps steam in the centre and leaves the topping pale while the fruit stays loose.
Do not macerate the fruit for an hour. Ten minutes is enough. A long wait draws out juice before baking and can make the bottom watery. If your plums are exceptionally ripe, reduce the sugar to 75g and add 5g more cornstarch. If they are firm and tart, keep the full 90g sugar but allow the assembled crumble to sit for only five minutes.
The practical answer is simple: dry the fruit, cut the plums evenly, handle blackberries lightly, and bake soon after mixing. Those four choices prevent more failures than adding extra starch later.
What topping ratio gives the best crumble texture?
A coarse topping needs visible pieces of butter
Rub the butter into the dry ingredients until the mixture forms uneven clumps. Stop when some pieces resemble peas and others resemble small walnuts. A smooth, sandy mixture will bake into a thin cookie-like sheet instead of a true crumble.
Bob’s Red Mill Old Fashioned Rolled Oats add larger flakes and a chewy edge; quick oats make a softer, more uniform topping. Plugrá Unsalted Butter contains about 82% butterfat, so it gives the topping a rich flavour and slightly less water than standard butter. These brands are not required, but the product details explain why a flour-and-oat mixture can behave differently from a plain streusel.
Three mistakes that flatten the topping
- Warm butter: Soft butter blends too completely with the flour. Chill the assembled topping for 10 minutes if the kitchen is warm.
- Overmixing: Kneading develops gluten and produces a firm lid. Use your fingertips and stop as soon as clumps form.
- A thin layer: Spread the topping evenly, but do not press it down. Pressing blocks steam and creates a dense centre.
Scatter the topping right to the edges of the dish. The exposed fruit will bubble, and the topping will brown more evenly when it sits on a consistent layer. If the topping darkens before the filling bubbles, place a loose sheet of foil over the dish for the final 10 minutes. Do not cover the crumble at the start; trapped steam softens the oats.
For a less sweet dessert, cut the brown sugar to 75g and add 30g chopped pecans. For a nut-free version, replace the pecans with 25g extra oats. Avoid coconut unless you want its flavour to lead the dish. The fruit already has a clear plum-and-blackberry identity, and a strong topping can bury it.
My pick is the 120g flour, 80g oats, 100g sugar, and 113g butter formula. It gives the best contrast: crisp edges, loose crumbs, and enough richness to stand up to tart fruit.
How do you bake a crumble without burning the fruit?
What oven temperature should you use?
Heat the oven to 190°C. Bake the assembled crumble on the middle rack for 40 to 50 minutes. Start checking at 40 minutes. The topping should be golden brown, and the filling should bubble in several places near the centre, not only around the edges.
How can you tell when it is ready to serve?
Pull the dish from the oven when a spoonful of juice looks thick and glossy rather than watery. The fruit will continue to set as it cools. Rest the crumble for at least 30 minutes before serving, and wait 45 minutes if you want neat portions. Serving it immediately gives you hotter fruit but a loose filling. That is fine with cream; it is frustrating if you want clean slices.
If the topping is brown but the fruit is not bubbling, lower the dish to a rack below the middle and cover the surface loosely with foil. If the fruit bubbles vigorously at 30 minutes but the topping is pale, move the dish higher for the final 8 to 10 minutes. Glass and ceramic dishes heat more slowly than metal, so they may need five extra minutes. Do not raise the oven above 200°C to speed things up. The sugar can burn before the plums soften.
For the clearest result, bake until the centre reaches the same visual state as the edges, then let carryover heat finish the thickening. The combination of moderate heat and a proper rest beats aggressive baking every time.
Which plum and blackberry crumble variations are worth making?
Best choice for a sharper, less sweet dessert
My strongest recommendation is the basic plum-and-blackberry version with lemon and no extra spice. It shows the fruit at its best and works with softly whipped cream or plain Greek yogurt. Add 1 teaspoon of ground cinnamon only if the plums taste bland. Cinnamon can warm the flavour, but it also makes the dessert taste more like a generic fruit pie.
When should you change the recipe?
Use nectarines instead of half the plums when you want a softer, floral filling with no fuzzy skin. Choose peaches when the fruit is very ripe and sweet, but reduce the sugar to 60g. Apples are a weaker substitute for plums because they need longer to soften and bring less acidity. If you use apples, slice them thinly and bake the fruit alone for 15 minutes before adding the topping.
- For a gluten-free crumble: use a certified gluten-free flour blend and gluten-free rolled oats in the same weights.
- For a dairy-free crumble: use a firm plant-based baking block rather than a soft spread. Soft spreads contain more water and can make the topping greasy.
- For a smaller batch: halve every ingredient and bake in a 7-inch dish for 30 to 38 minutes.
- When not to make it: skip this crumble if the berries are sour, underripe, or badly bruised. A custard or cake can hide weak fruit, but a crumble puts the fruit in front.
It should round out the fruit, not announce itself. The same applies to almond extract: use no more than 1ml, or leave it out.
Late-summer baking is moving toward shorter ingredient lists and stronger fruit flavour, and this crumble fits that direction. Once the ratio is right, each new basket of plums or berries becomes a small variation rather than a new recipe to learn.