
I used to think that making a decent loaf of bread required a chemistry degree and the patience of a saint. My early attempts were usually dense enough to serve as doorstops, and for a long time, I just accepted that good bread was something you bought at a bakery, not something you made in a standard kitchen. That changed when I stopped trying to mimic industrial processes and started paying attention to how four simple ingredients actually interact. I realized that the best homemade bread recipe isn’t the one with the most complex steps, but the one that respects the time dough needs to develop its own structure.
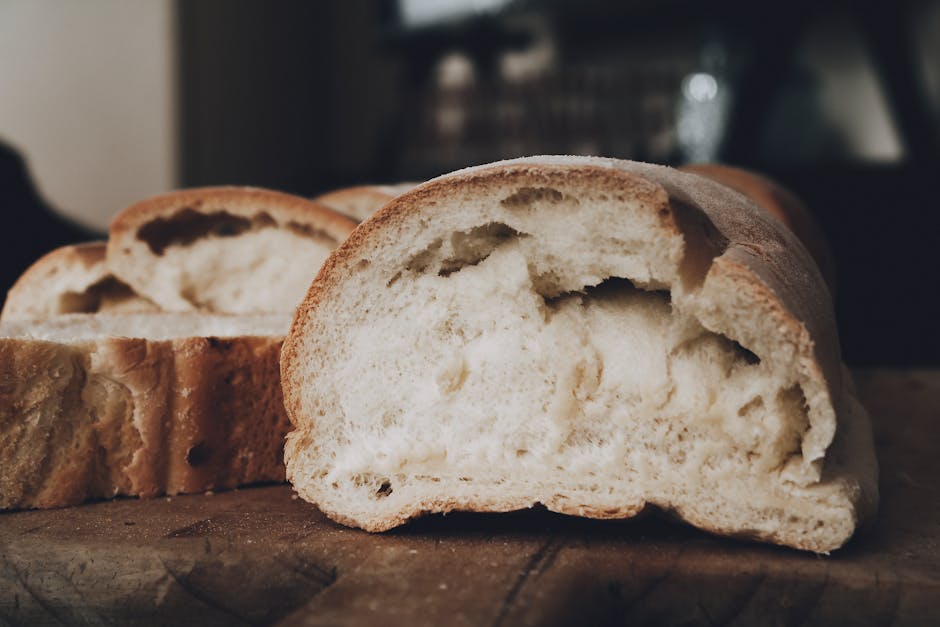
If you have been struggling with bread that comes out gummy, flat, or tasteless, you are likely missing one of the fundamental pillars of fermentation. Making bread at home is less about physical labor and more about managing environment and moisture. I have spent the last few years refining a process that requires almost zero active work, relying instead on a long cold-ferment to do the heavy lifting. This approach produces a crumb that is airy and a crust that actually crackles when you cut into it.
What ingredients do you really need for basic white bread?
When I first started baking, I would buy every ‘bread improver’ and dough conditioner on the shelf. I eventually learned that these are largely unnecessary for home bakers. The core of any great loaf is four things: flour, water, salt, and yeast. However, the quality of these ingredients determines whether your bread is merely edible or truly professional.
Choosing the right flour for gluten development
I have tested dozens of brands, and I consistently go back to King Arthur Unbleached Bread Flour. It typically retails for about $6.00 to $7.00 for a 5lb bag. The reason I prefer it over cheaper store brands is the protein content. King Arthur Bread Flour sits at a consistent 12.7% protein. Higher protein means more gluten, and more gluten means a stronger web to trap the gases produced by yeast. If you use All-Purpose flour, which usually hovers around 10-11% protein, your bread might be softer, but it will lack the structural integrity to hold those big, beautiful air bubbles. Pro: High protein leads to excellent rise. Con: It can be harder to find in some smaller discount grocery stores.
The difference between active dry and instant yeast
I strictly use SAF-Instant Red Label Yeast ($8.00 for a 1lb vacuum-packed bag). Many recipes call for ‘blooming’ yeast in warm water, but with instant yeast, you can mix it directly into the dry ingredients. It is much more reliable than the little envelopes of active dry yeast found at the checkout counter. In my experience, active dry yeast is prone to being ‘dead’ on arrival if it hasn’t been stored perfectly. Instant yeast is more concentrated and has a smaller particle size, allowing it to dissolve and activate quickly without the extra step of proofing in water.
| Yeast Type | Preparation | Best For |
|---|---|---|
| Instant (SAF-Red) | Mix directly with flour | No-knead recipes, long ferments |
| Active Dry | Must dissolve in 105°F water | Traditional kneaded doughs |
| Fresh/Cake Yeast | Crumble into water | Professional bakeries, high-sugar doughs |
Step-by-step instructions for a no-knead dutch oven loaf
This is the method I recommend to anyone who asks me how to start. It relies on a high-hydration dough—meaning the ratio of water to flour is higher than a traditional sandwich loaf. This moisture creates steam in the oven, which is the secret to that artisan crust. You will need a digital scale for this. Measuring by volume (cups) is too inconsistent; a ‘cup’ of flour can vary by 20 grams depending on how tightly you pack it.
Mixing and the initial rise
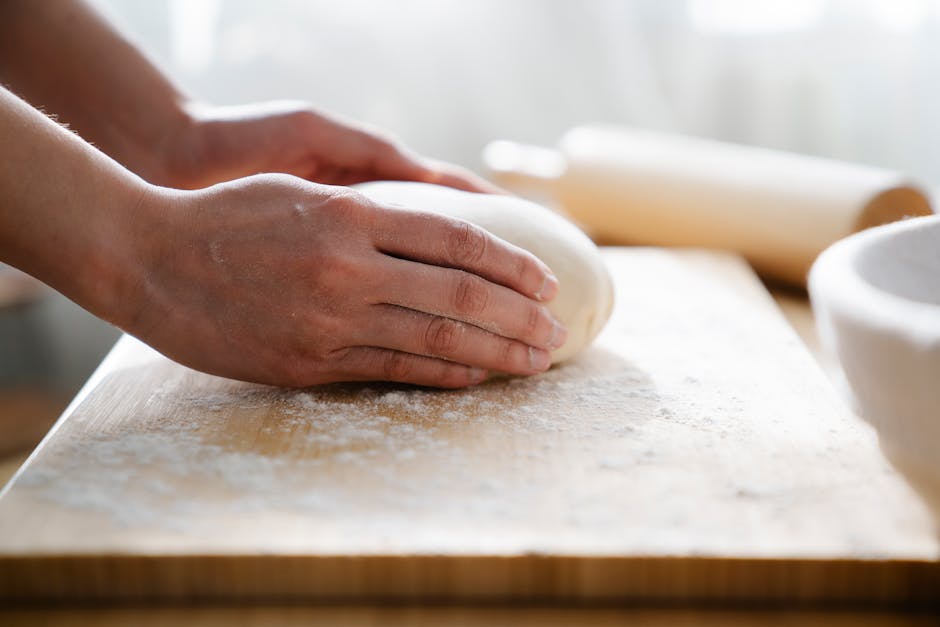
Start by weighing out 500 grams of bread flour, 375 grams of room temperature water, 10 grams of fine sea salt, and 2 grams (about half a teaspoon) of instant yeast. I mix these in a large glass bowl until no dry flour remains. It will look like a shaggy, ugly mess. This is exactly what you want. Cover it with plastic wrap or a damp towel and let it sit on your counter for 12 to 18 hours. I usually mix mine at 8 PM and bake it the next morning. During this time, the flour fully hydrates and the gluten strands align themselves without you ever having to touch the dough.
The stretch and fold technique
Instead of traditional kneading, I use ‘stretches and folds.’ After the long rise, the dough will be bubbly and have doubled in size. Wet your hands so the dough doesn’t stick. Reach under one side of the dough, pull it up, and fold it over the center. Rotate the bowl and do this four times. This builds tension in the dough, which helps it keep its shape in the oven. Let it rest for another 30 minutes while you preheat your oven and your Dutch oven to 450°F.
Common mistakes when proofing bread at home
The most frequent question I get is: ‘Why didn’t my bread rise?’ Usually, the culprit is temperature or timing. Bread is a living thing, and it responds to the climate of your kitchen. If your house is 65°F in the winter, your 12-hour rise might actually need 18 hours. Conversely, in a 75°F summer kitchen, your dough might over-proof in just 8 hours.
How to identify over-proofed dough
Over-proofing happens when the yeast has consumed all the available sugars and the gluten structure begins to collapse. If you poke the dough and it doesn’t spring back at all, but rather leaves a permanent indentation or deflates entirely, you’ve gone too far. I have found that over-proofed dough often smells strongly of alcohol or vinegar. While it is still bakeable, the resulting loaf will be flat and the crust will be pale because there are no sugars left to caramelize.
The importance of the ‘windowpane test’
If you are trying a recipe that involves kneading, you must check the gluten development. I take a small piece of dough and gently stretch it between my fingers. If I can stretch it thin enough to see light through it without it tearing, it has passed the windowpane test. If it snaps immediately, you need to keep kneading. With the no-knead method I described above, the long fermentation time does this work for you, which is why I prefer it for home use where I don’t want to spend 15 minutes sweating over a floured counter.
The biggest mistake beginners make is adding more flour when the dough feels sticky. Resist the urge. Sticky dough leads to an airy crumb; dry dough leads to a heavy, dense loaf.
Best bread making equipment for beginners under $100
You do not need a $500 stand mixer to make world-class bread. In fact, for the no-knead method, a stand mixer can actually be a hindrance because it’s easy to overwork the dough. I’ve found that investing in a few specific, high-quality tools makes a much larger difference in the final result than any high-end appliance.
The Lodge 6 Quart Enameled Cast Iron Dutch Oven
This is the workhorse of my kitchen. It currently retails for approximately $80.00. The heavy cast iron retains heat exceptionally well, and the lid traps the steam escaping from the dough. This steam keeps the surface of the loaf moist, allowing it to expand fully (this is called ‘oven spring’) before the crust hardens. Pro: Produces a professional-grade crust and is extremely durable. Con: It is quite heavy and can be difficult to move in and out of a hot oven if you have wrist issues.
Escali Primo Digital Kitchen Scale
As I mentioned, weight is everything in baking. The Escali Primo is usually around $25.00 and is the most reliable scale I’ve used at that price point. It’s simple, it’s accurate to 1 gram, and it has a long battery life. Pro: Very accurate and easy to clean. Con: The display isn’t backlit, which can make it hard to read in low-light kitchens.
Essential small tools
- Bench Scraper: A stainless steel scraper (about $10) is vital for moving wet dough and cleaning your workspace.
- Digital Thermometer: I use a ThermoPro TP19H ($15.00) to check the internal temperature of the bread. Bread is done when it hits 190°F to 200°F. Pro: Instant reading. Con: The probe is a bit thick for very delicate pastries.
- Parchment Paper: Always use high-quality parchment to drop your dough into the hot Dutch oven. It prevents sticking and makes the transfer safe.
How to store homemade bread to keep it fresh

One of the downsides of making bread without preservatives is that it goes stale much faster than store-bought loaves. Most supermarket bread contains monoglycerides and calcium propionate to keep it soft for weeks. Your homemade loaf is a different beast. Once you cut into it, the clock starts ticking as the starches begin to crystallize—a process called retrogradation.
Why the refrigerator is the enemy of bread
I see many people put their bread in the fridge thinking it will last longer. This is a mistake. The cold temperature of a refrigerator actually accelerates the staling process. It pulls moisture out of the crumb and turns it tough and leathery. I prefer to keep my bread on the counter, cut-side down on a wooden cutting board. This allows the crust to stay somewhat crisp while protecting the interior from the air.
The best way to freeze and revive bread
If I know I won’t finish a loaf within 48 hours, I slice the entire thing and freeze it in a heavy-duty freezer bag. You can pull out individual slices and put them directly into the toaster. If you want to revive a whole unsliced loaf that has gone a bit hard, here is a trick I learned: run the loaf quickly under a cold tap to dampen the crust, then put it in a 350°F oven for 10 minutes. The water turns to steam, softening the interior and re-crisping the crust. It will taste almost exactly like it just came out of the oven for the first time.
Choosing a bread box
A dedicated bread box can help if you live in a very dry or very humid climate. A good bread box should not be airtight; it needs a small amount of airflow to prevent mold from growing, but enough protection to keep the bread from drying out. I have used a simple bamboo bread box for years, and it consistently adds about a day of life to my loaves compared to leaving them on the counter. If you live in a high-humidity area, be careful, as homemade bread can develop mold in as little as three days without preservatives.


