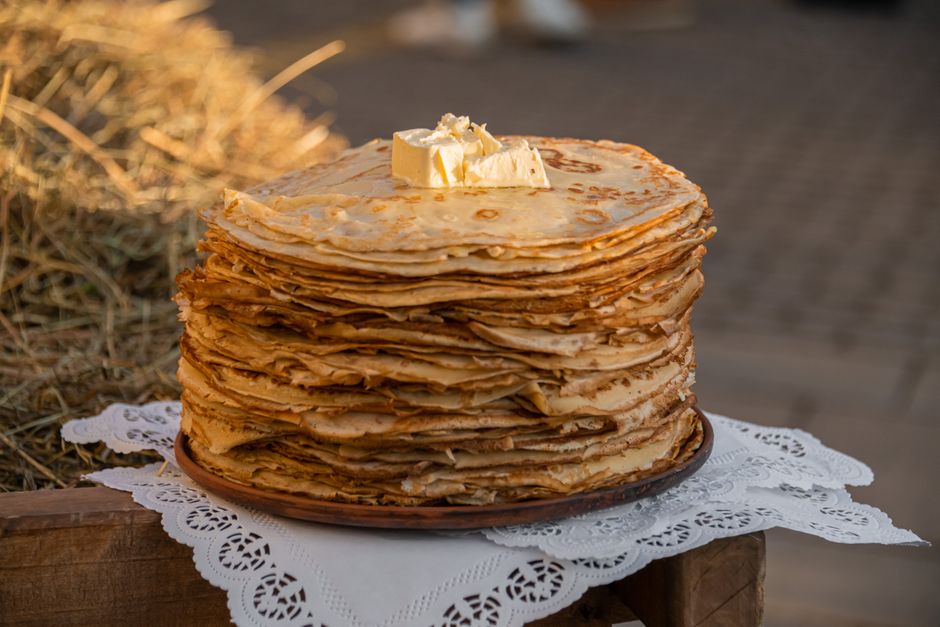
A classic British pancake is not a fluffy American pancake with a different topping. It is a thin, lightly crisp pancake made from a simple pourable batter, then finished with lemon juice and caster sugar. The best version folds easily, has golden edges, and stays soft enough to soak up the sharp lemon juice.
The method is simple, but small details decide the result. Rest the batter, heat the pan properly, and add only enough batter to coat the base. This recipe makes eight to ten pancakes in a 20cm pan.
What Makes a British Pancake Thin and Tender?
The key verdict is simple: British pancakes need a runny batter, a hot pan, and very little fat. They should be thinner than American pancakes but slightly more substantial than a delicate French crêpe. The batter uses plain flour, eggs, milk, and a little melted butter. There is no baking powder because the aim is a flexible pancake rather than a risen one. A small amount of salt sharpens the flavour, while the eggs give the pancake enough strength to turn without tearing.
Flour supplies the structure, but too much flour makes the pancake thick and bready. Milk loosens the mixture and helps the surface brown. Eggs bind the batter and create tender edges. Melted butter adds flavour and reduces the chance of a dry finish. The batter should fall from a ladle in a smooth stream, not drop in heavy blobs.
Resting matters because the flour needs time to absorb the liquid. A 20 to 30 minute rest gives you a smoother batter and fewer rubbery patches. If the mixture thickens while it rests, stir in one or two tablespoons of milk before cooking. The finished pancake should be pale gold with a few brown spots, not dark and brittle.
For Pancake Day, lemon and sugar remain the best topping because they balance the plain batter without hiding it. Use fresh lemon juice and caster sugar. Granulated sugar works, but its larger crystals feel rougher and melt more slowly.
How to Mix the Batter Without Tough Pancakes
Use the right flour, eggs, and milk ratio
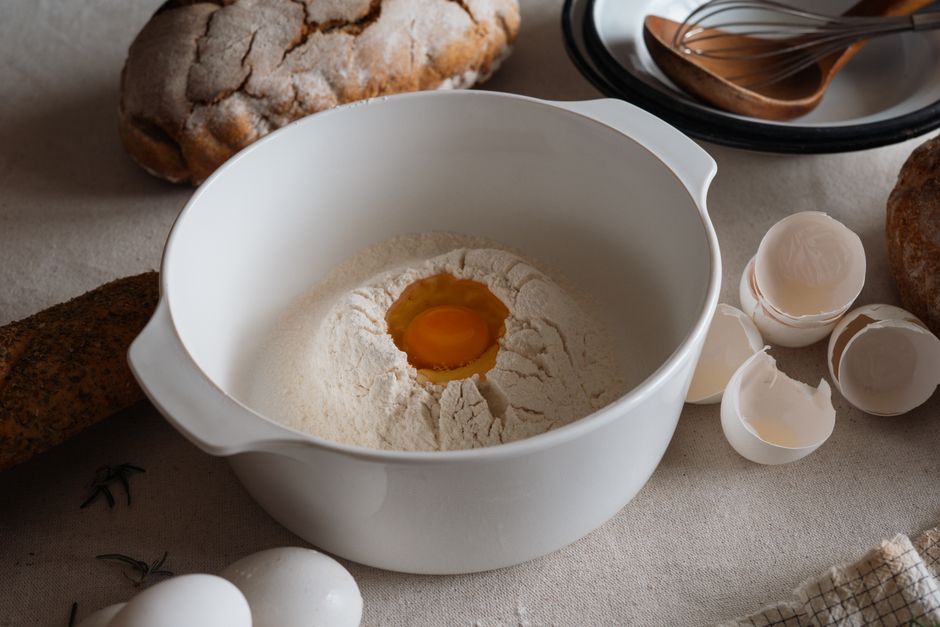
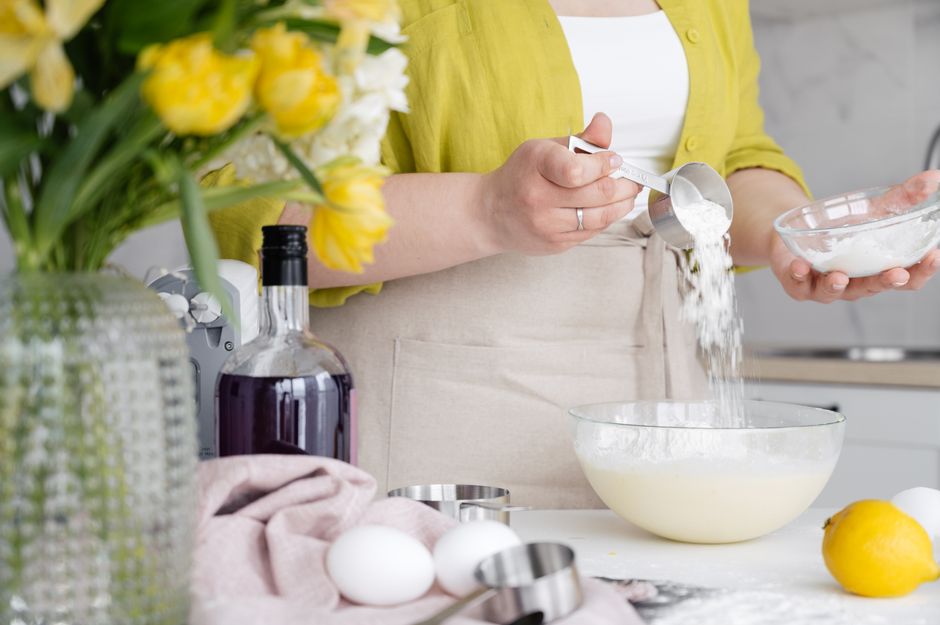
For eight to ten pancakes, weigh 125g plain flour into a mixing bowl and add a pinch of fine salt. Make a well in the centre, then add two large eggs. Pour in 150ml of semi-skimmed or whole milk and whisk from the middle outward, pulling flour into the liquid as you go. Once the mixture becomes smooth, add another 150ml of milk and 25g melted butter. The final batter should contain 300ml milk, two eggs, and 125g flour.
This ratio gives a batter thin enough to swirl but strong enough to turn. Whole milk creates a slightly richer pancake. Semi-skimmed milk produces lighter, crispier edges. Do not replace all the milk with water unless you specifically want a less rich result.
Remove lumps before the batter rests
Small lumps usually disappear during cooking, but large flour pockets create weak spots that tear in the pan. Whisk for about one minute after adding the final milk. For a very smooth batter, pass it through a sieve into a jug. This takes less than a minute and makes pouring faster.
Cover the bowl or jug and rest the batter for 20 to 30 minutes at room temperature. The mixture can also rest in the fridge for up to 24 hours, but bring it out for 20 minutes and stir before cooking. Add a splash of milk if it looks thicker than single cream.
Choose a whisk, not a stand mixer
A balloon whisk is all this batter needs. The OXO Good Grips 11-inch Balloon Whisk is a practical example because its wide shape reaches the sides of a medium bowl without excessive effort. A KitchenAid Artisan 4.8L stand mixer works well for large baking batches, but it is the wrong tool for one bowl of pancake batter: it takes longer to set up and can encourage overmixing.
For the pan, a 20cm or 24cm non-stick frying pan is the easiest choice. The Le Creuset Toughened Non-Stick 28cm Fry Pan is durable but larger than needed for small Pancake Day batches. A smaller pan gives more consistent circles and makes flipping easier.
How to Cook Lemon and Sugar Pancakes Step by Step
- Heat the pan first. Set a 20cm frying pan over medium-high heat for two minutes. A drop of batter should sizzle lightly when it touches the surface. If it sits silently, the pan needs more heat.
- Grease lightly. Rub the base with a little butter or brush it with neutral oil. Use only enough to create a thin sheen. Excess fat fries the edges and leaves greasy patches.
- Pour a small amount. Stir the batter, then add roughly 45ml, or three tablespoons, to the centre of the pan. Lift and tilt the pan immediately so the batter reaches the edges.
- Watch the surface. Cook for 45 to 60 seconds. The top should lose its wet shine, and the edges should look dry and lightly golden.
- Turn once. Slide a thin spatula under the pancake and flip it with one confident movement. Cook the second side for 20 to 30 seconds. It needs colour, not a long second cook.
- Stack the pancakes. Transfer each pancake to a plate and stack them. Cover the stack with a clean tea towel if you are cooking more than five. The trapped steam keeps the centres flexible.
- Season while hot. Put the pancake on a plate, squeeze over half a lemon, and sprinkle with one to two teaspoons of caster sugar. Fold it in half, then in half again.
- Adjust as you go. If the first pancake is thick, add a tablespoon of milk to the batter. If it tears, cook the next one for a few seconds longer before turning. If it browns too quickly, reduce the heat.
The first pancake is a test, not a failure. Use it to judge the heat and batter flow. A good batch often needs a small temperature adjustment after the first two pancakes because the pan stores more heat than it had at the start.
Do not press down on a pancake with the spatula. That pushes out steam and makes the texture flat and leathery. Do not keep flipping it either. One turn gives the best texture and the clearest golden patches.
British Pancake Cooking Times and Common Mistakes
The best cooking guide is visual, supported by a simple timing chart. Exact times vary with pan material, hob strength, and batter temperature, so colour and surface texture matter more than a stopwatch. Still, these ranges give a reliable starting point.
| Stage | Heat or amount | Typical time | What to look for |
|---|---|---|---|
| Preheat pan | Medium-high | 2 minutes | Pan feels hot; batter sizzles gently |
| Grease pan | A thin butter or oil coating | 5 seconds | No visible pool of fat |
| First side | About 45ml batter | 45 to 60 seconds | Dry edges and no wet shine on top |
| Second side | No extra fat needed | 20 to 30 seconds | Light brown spots and flexible centre |
| Stacked rest | Clean tea towel cover | 1 to 2 minutes | Steam softens the edges |
| Reheat leftovers | Medium heat | 20 seconds per side | Warm but not crisp or dry |
Why the pancakes tear
Tearing usually comes from turning too soon, using too much batter, or skipping the rest. The top must look nearly set before the spatula goes underneath. A pan that is too cool also causes sticking because the batter has time to bond with the surface before it firms.
Why the edges turn dry
Dry edges point to excessive heat, too little batter, or a long cooking time. Lower the hob slightly after the first pancake and use enough batter to cover the base in one quick swirl. Keep finished pancakes covered while the rest cook.
When not to change the recipe
Do not add baking powder because the pancakes look thin. Thin is the intended texture. Do not add sugar to the batter if you plan to use lemon and sugar on top; it can make the surface brown before the centre cooks. For a savoury filling, keep the batter plain and add the filling after cooking.
Common Pancake Day Questions, Answered
Should British pancakes be crispy or soft?
They should have lightly crisp edges and a soft, flexible centre. A completely crisp pancake has usually spent too long in the pan or was cooked over excessive heat. Stack the pancakes as they finish to trap steam. That softens the edges without making the surface soggy.
Can the batter be made the night before?
Yes. Mix the batter, cover it, and refrigerate it for up to 24 hours. The flour hydrates overnight, which can improve the texture. Let the batter sit at room temperature for about 20 minutes before cooking, then whisk it gently. Add one tablespoon of milk if it has thickened.
What should I use if I do not have caster sugar?
Use ordinary caster sugar, icing sugar, or a small amount of golden caster sugar. Caster sugar gives the cleanest crunch and dissolves quickly against the warm pancake. Icing sugar melts fastest but creates a softer finish. Lemon zest can add extra fragrance, but fresh juice remains essential because it supplies the sharpness that balances the buttery batter.
The strongest Pancake Day routine is still the simplest one: rest the batter, cook one thin pancake at a time, and add lemon and sugar while each pancake is hot.